![]()
![]()
![]()
![]()
![]()
![]()
![]()
![]()
![]()
![]()
![]()
![]()
Creating an Information Card
You will now make the Information Card. It is pictured in Figure 34 below.
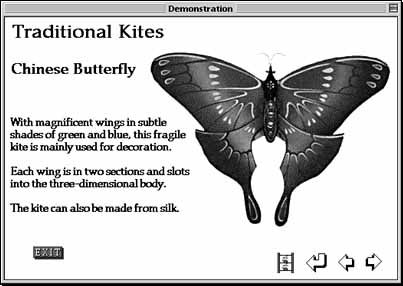
It is similar to the other cards except for three factors...
- It will be created as a new "Group" card.
- It includes a Graphic Object.
- It includes a simple Quicktime movie.
![]()
36. Select Ready Made Cards from the Edit menu and select Group Card from the sub-menu
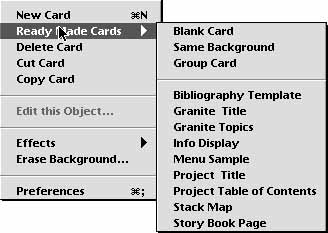
Your new card will appear with the four grouped buttons created on the previous card already in place.
37. You need to create two text objects. One for the titles and the other for the information. See figure 34 above.
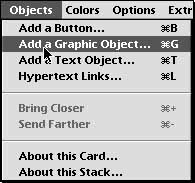
38. Create a Graphic Object. Select "Add a Graphic ObjectÉ" from the Objects menu (Fig. 36).
![]()
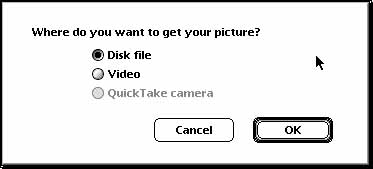
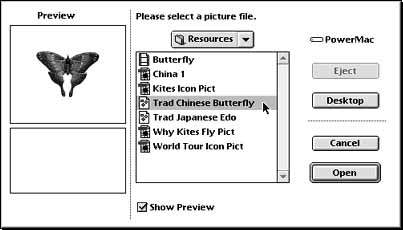
39. Choose your graphic object (picture) from a Disk File (Figure 37). Click OK.
40. Select the Trad Chinese Butterfly from the Tutorial Resources folder in the dialog box which appears (Figure 38).
![]()
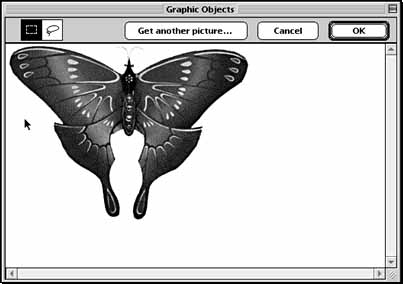
41. Once you have selected the picture the Graphic Objects window will appear allowing you to select the area of the graphic you desire. Select the graphic using the rectangle or lasso selection tool (Figure 39). Click "OK".
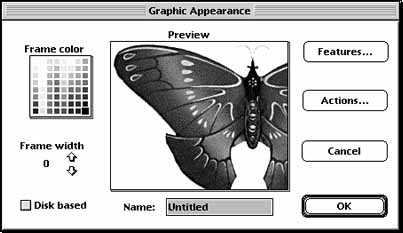
42. Once you have clicked "OK" you can alter the functionality of the object. At this stage we will not make any changes. Simply click OK (Figure 40) and drag the graphic where you wish it to appear on the card.
![]()
43. Playing a Quicktime movie. We will set up a Quicktime movie. You will need to create a button object with a suitable action (Play video) and icon (movie strip). Create your new button ensuring you give it the following characteristics and features:
|
Name |
|
Play Movie |
|
Type |
|
Invisible |
|
Show Name |
|
Unchecked |
|
Show Icon |
|
Checked |
|
Highlight |
|
Checked |
|
Transition |
|
Fastest |
|
Features |
|
Group (Refer Figure 28 below) |
|
Sound |
|
Click |
|
Icons |
|
Refer Figure 34 above. |
|
Action |
|
Play a movie or video...(Fig. 41) |

![]()
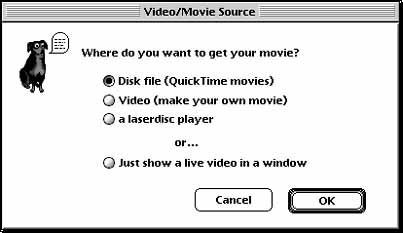
44. When you click on "Play a movie or video..." in the Actions dialogue box you will be given a choice as to where you obtain the movie (Figure 42). Click on Disk File and click OK.
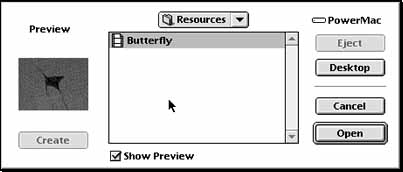
45. The dialog box pictured in Figure 43 will appear. Choose the Butterfly movie from the Tutorial resources folder. Click Open.
![]()
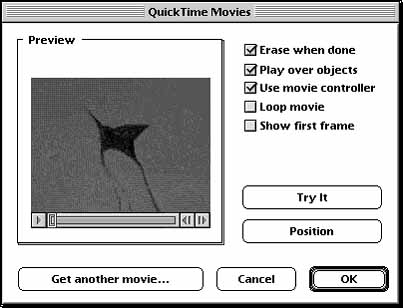
46. Once you have selected the movie and placed it on your card the following "Quicktime Movies" dialog box will appear (Figure 44). Check the following options:
- Erase when done (That simply clears the movie off the card ... it does not delete or damage the actual movie ... it "erases" the movie off the card.)
- Play over objects.
- Use movie controller
Click "OK" once you have checked these options. Click on your new Play Movie button.
![]()