![]()
![]()
![]()
![]()
![]()
![]()
![]()
![]()
![]()
![]()
![]()
![]()
Adding Clip Art
The title card should include some clip art...
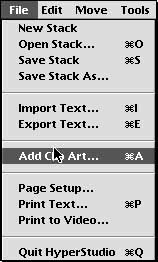
15. Select "Add Clip Art..." from the File menu (Figure 13).
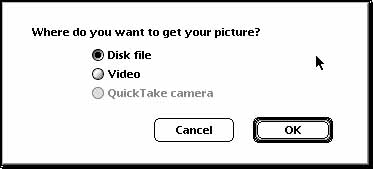
The following dialogue box will appear allowing you to choose the source for your picture (Figure 14).
![]()
16. Click "Disk File" and click "OK" in the dialogue box (Figure 14). We are obtaining the clip art from a folder located on the hard drive of the computer. The folder is called Tutorial Resources.
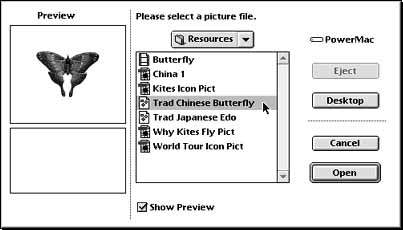
The Dialogue box illustrated in Figure 15 below will then appear.
17. Locate the picture of your choice from the list presented in the Resources folder (Figure 15) and click "Open".
![]()
18. A Clip Art Editor window will appear (Figure 16). This will allow you to select the portion of the clip art you need for your card. You can use the rectangle or lasso selection tool.
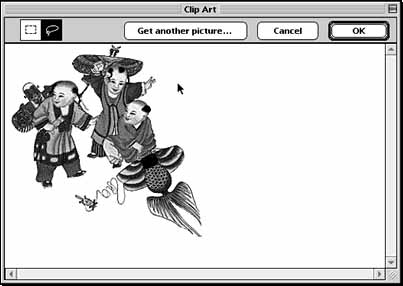
Once you have selected the clip art you need to click "Okay" and the clip art will appear on your card with a shimmering marquee. You are able to drag the clip art to the area on the card where you wish it to appear. A simple mouse click will place the click art.
![]()